The Readable toolbar can be positioned anywhere on screen and oriented to fit your needs. This page covers the position, orientation and colour options on the Toolbar tab of Settings.

Floating mode (default)
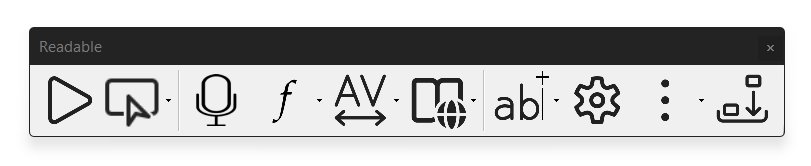
By default, the Readable toolbar floats freely and stays on top of all other windows. To move it, click and drag the toolbar's edge or any empty area. The toolbar remembers its last position when you close and reopen Readable.
Floating mode keeps the toolbar accessible from anywhere on screen without taking permanent space from your applications.
Docking the toolbar
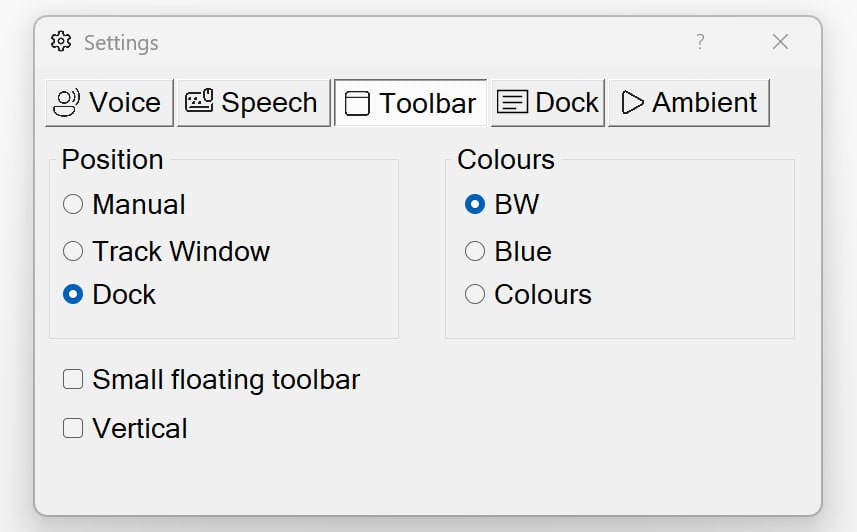
To dock the toolbar to the top of the screen, open the toolbar's Settings dialog and go to the Toolbar tab. Under Position, select Dock. The toolbar moves to the top of the screen and stays there.
Once docked, two things happen:
- The toolbar becomes a thin horizontal strip across the full screen width
- The area to the right of the toolbar buttons becomes the Readable Banner — a text display panel that shows the words being spoken in real time
This is the position to use if you want the spoken text shown alongside the original document — useful for paired reading or when learners want to see the words being read in a different font, size or colour scheme.
Vertical orientation
To switch the toolbar from horizontal to vertical, tick the Vertical checkbox on the Toolbar tab of Settings. The buttons rearrange themselves into a single column.
Vertical orientation is useful when you have a wide-screen monitor and would rather keep the full vertical height of your application visible. It works in any Position mode (Manual, Track Window or Dock).
Settings reference
The Settings dialog Toolbar tab gives you direct control over:
- Position
- Manual (you place it by dragging), Track Window (toolbar follows your active window — see Track Window Mode), or Dock (toolbar sits at the top of the screen and the Readable Banner activates).
- Colours
- BW (black and white), Blue, or Colours (full colour-coded scheme with each button group in its own colour).
- Small floating toolbar
- Tick to use the smaller toolbar — see Small Toolbar.
- Vertical
- Tick to display the toolbar vertically (single column of buttons) instead of horizontally.