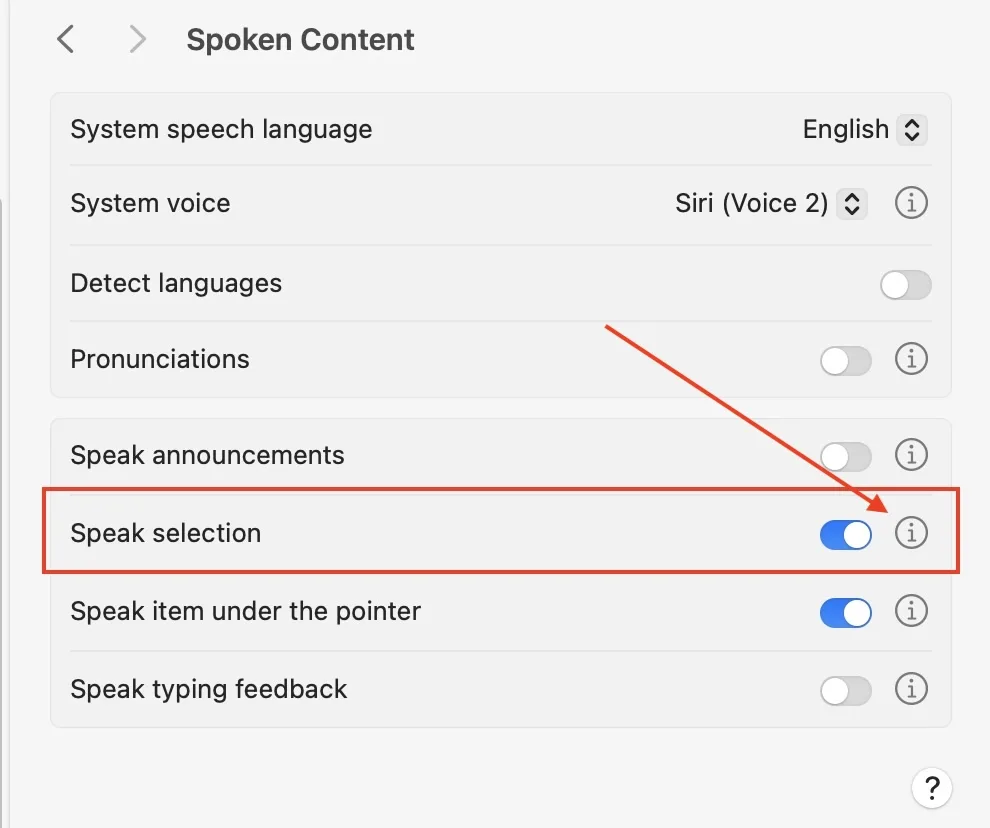
Speak Selection lets you hear any text you select with your mouse read aloud by your chosen voice. Enable it in System Settings → Accessibility → Spoken Content → Speak Selection.
How to start speaking selected text
Once Speak Selection is enabled, select any text on screen with your mouse, then use one of these methods:
- Keyboard shortcut: Press Option + Esc together. This starts speaking the selected text. Press the same shortcut again to stop. You can customise this shortcut in the Spoken Content settings.
- Right-click menu: After selecting text, right-click (or Control-click) and choose Speech → Start Speaking from the context menu.

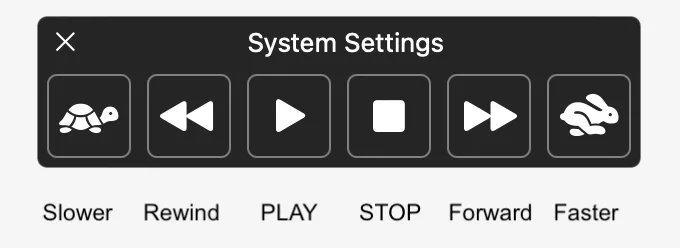
Using the TTS controller
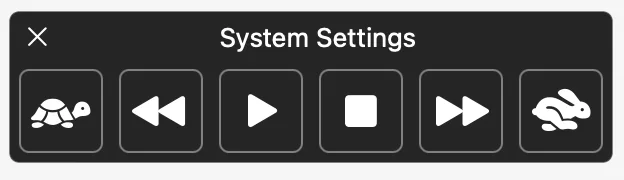
With the floating TTS controller enabled (see Speech TTS), you can select text and click the Play button on the controller to start speaking. The controller also lets you rewind, fast forward, and adjust speed on the fly.
You can also click into a text document without selecting — just position your cursor — and press Play on the controller to start reading from that point.
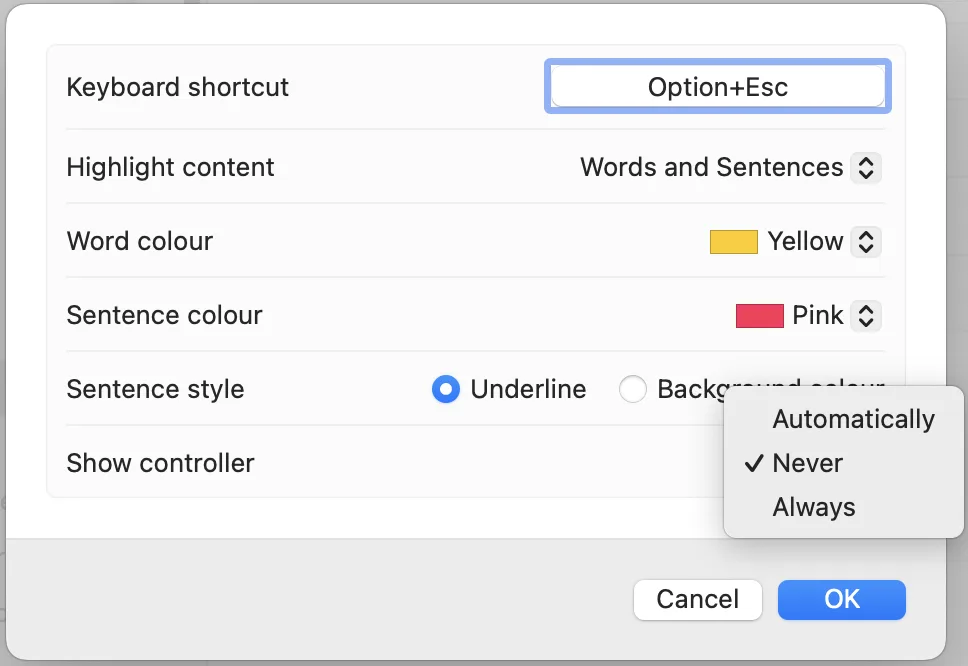
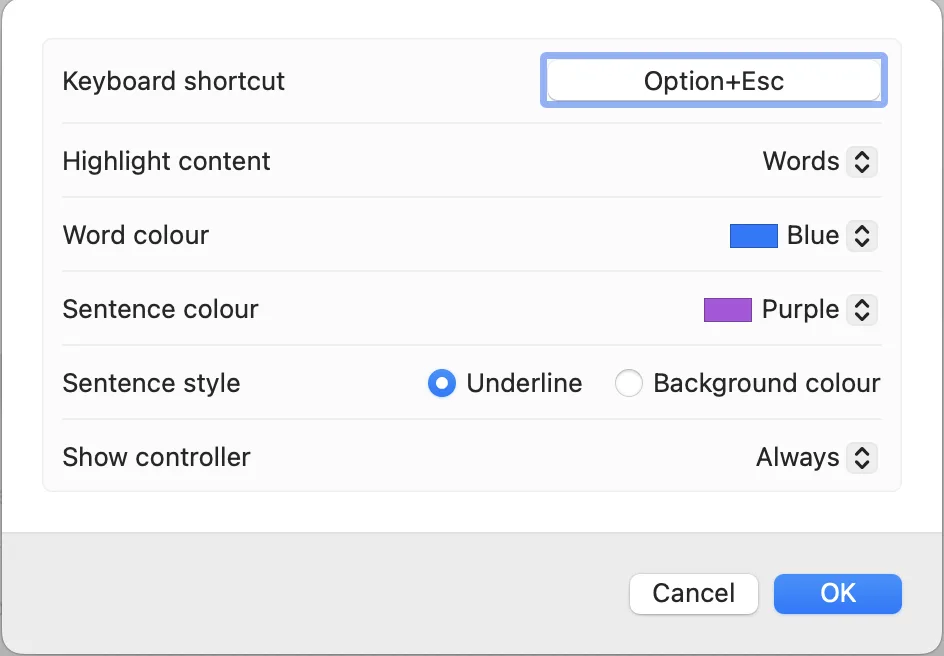
Word and sentence highlighting
Click the info symbol (ℹ) next to Speak Selection to access highlighting options. Set colours for the currently spoken word and sentence, and choose underline highlighting if preferred.