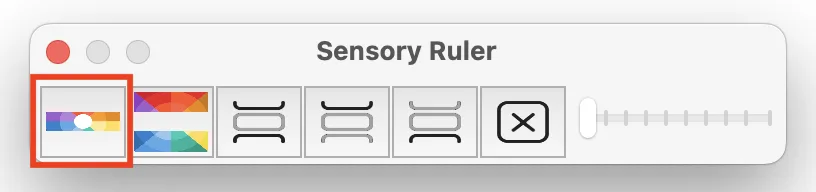
You can change the colour or tint within the ruler strip at any time. Click the ruler colour icon on the toolbar (the left-hand colour icon) to open the colour picker.
A tint is a softened, lighter version of a pure colour — it lets colour through while keeping text and images clearly visible beneath the overlay.
Choosing a colour
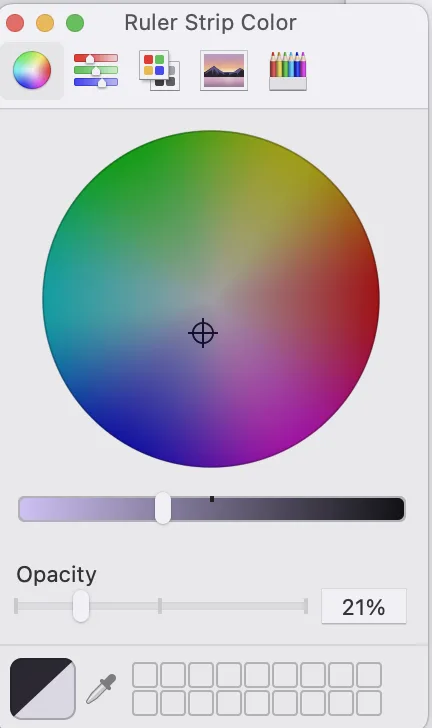
Clicking the colour icon opens the macOS colour picker, which offers five ways to choose a colour. You can switch between them using the icons at the top of the picker.
Each option also has an opacity slider — this controls how much of the original screen content shows through the tint. Lower opacity creates a more subtle, see-through overlay; higher opacity produces a stronger, more solid colour.
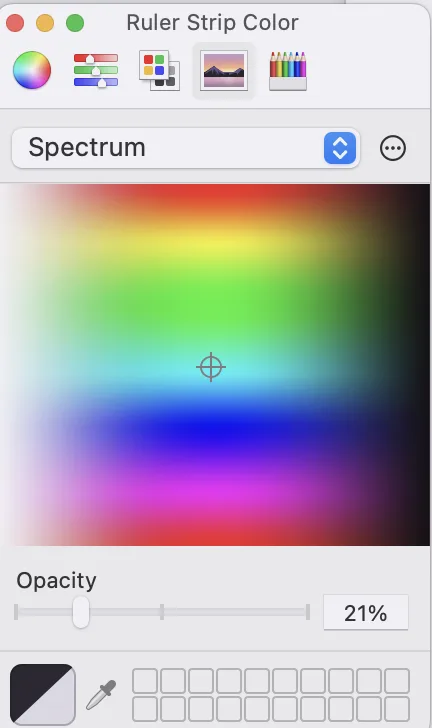
The five colour picker options
- Colour Wheel — Drag around the wheel to pick a hue, then adjust brightness with the vertical slider.
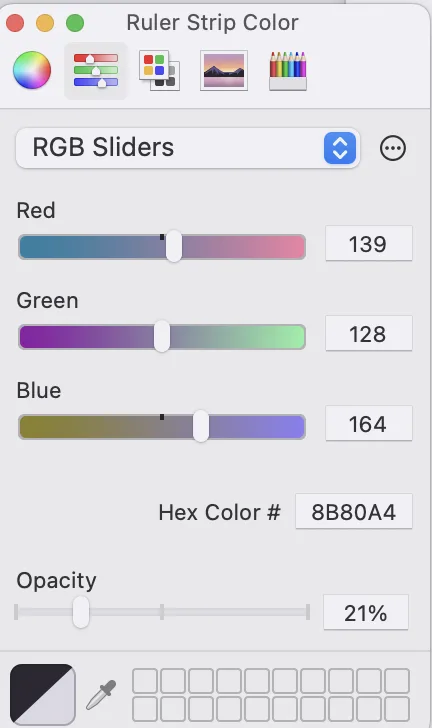
- Colour Sliders — Adjust individual RGB, HSB, or Greyscale channel sliders for precise colour matching.
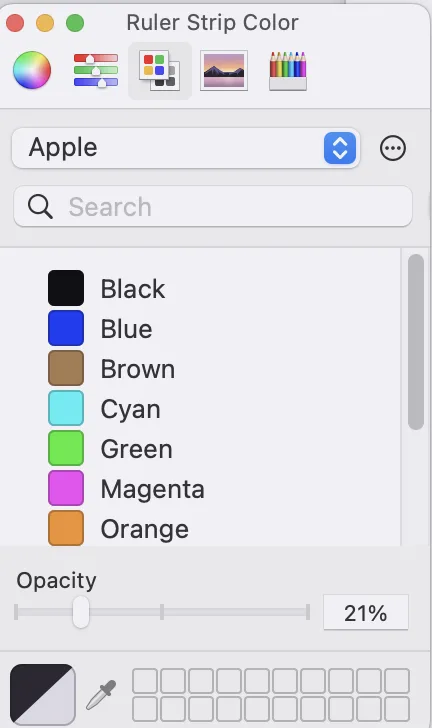
- Colour Palette — Choose from a grid of preset colours.
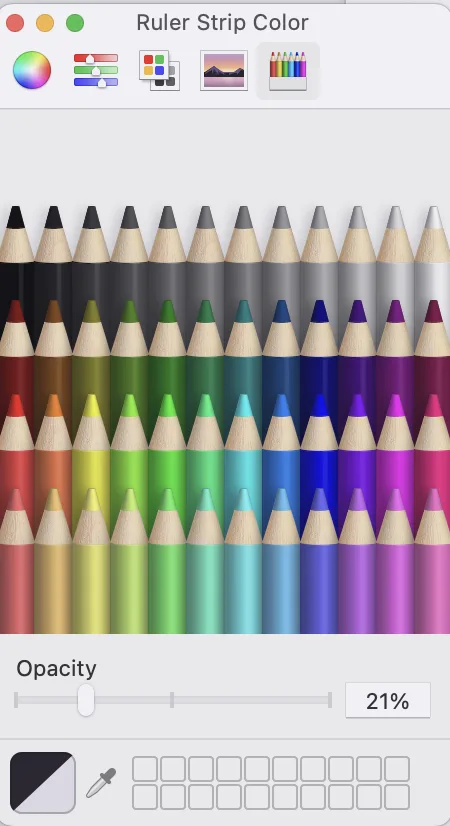
- Pencil Colours — A selection of common pencil/crayon shades.
- Custom Hex Input — Type a specific hex colour code (e.g.
#FFD700) to match a precise colour recommended by an eye specialist or vision assessment.
Tip: Many users find a soft yellow or pale blue tint most effective for reducing visual stress. Experiment with lower opacity levels (around 30–50%) for a subtle effect that still improves readability.