Starting a recording
- Tap the Record button (red circle) at the bottom of the screen.
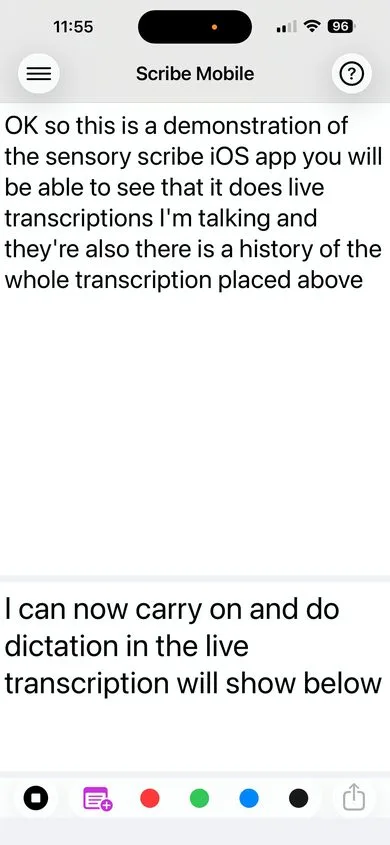
- The button turns blue — recording is now active.
- Speak clearly into your device's microphone.
- Words appear in the lower text view as they are recognized, then move to the upper transcript view once finalized.
Using markers during recording
While recording, tap any of the five marker buttons to insert a colour-coded marker at that exact moment in the transcript. Markers are saved with a timestamp so you can jump to them instantly during playback.
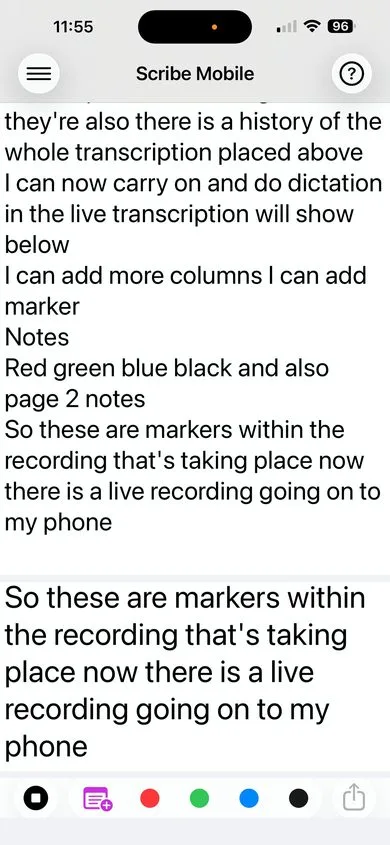
- Page Marker (Purple) — Mark a section or topic change.
- Red Marker — Flag an urgent or critical point.
- Green Marker — Highlight a positive item or action point.
- Blue Marker — Note a question or follow-up item.
- Black Marker — General-purpose annotation.
Tip: Tap a marker button without hesitation — inserting a marker does not interrupt recording or affect the transcription.
Stopping a recording
- Tap the Record button again (now blue) to stop recording.
- You will be prompted to name your recording.
- Enter a descriptive name — for example "Team Meeting 14 May" — and tap Save.
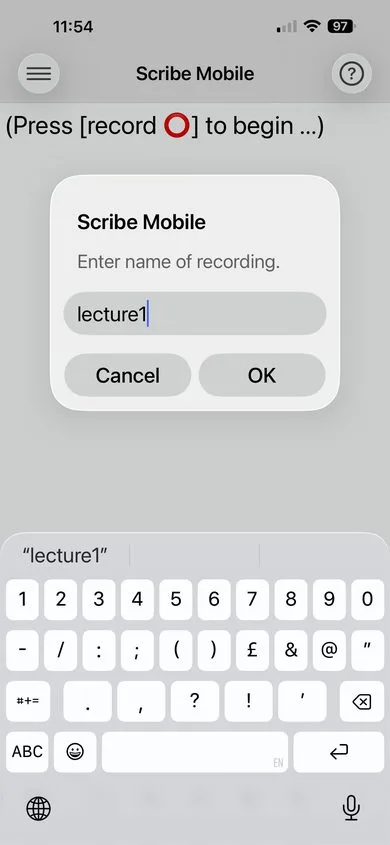
Naming tip: Use descriptive names that include the date or topic — "Lecture 3 Cell Biology" rather than "Recording 4". You'll thank yourself when reviewing recordings weeks later.
What gets saved
Each saved recording creates a folder containing four files:
.m4a — Audio
The full audio recording from the microphone.
.txt — Transcript
The complete text transcript of the recording.
.wds — Word data
Individual word timestamps for synchronized playback highlighting.
.mks — Marker data
All markers with their types and positions in the recording.