The camera fills the full screen so you can see exactly what you are capturing. Point it at any text — printed or handwritten — and tap to take a photo.
Camera controls
- Capture button (large circle, bottom-centre) — tap to take a photo. The display freezes instantly so you can see what was captured.
- Zoom — use a two-finger pinch gesture to zoom in (up to 10×) or zoom out. Useful for reading small print from a distance.
- Photo library icon — tap to select an existing image from your device instead of capturing a new one.
- Settings icon (gear, top-left) — view your purchase status and configure app preferences.
- Close button (✕, top-right) — close the camera view.
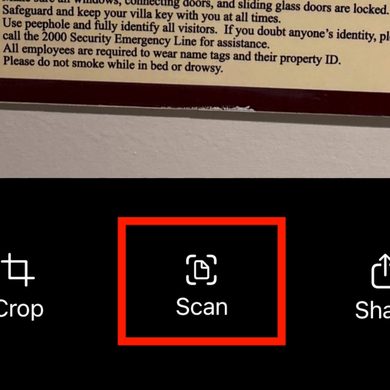
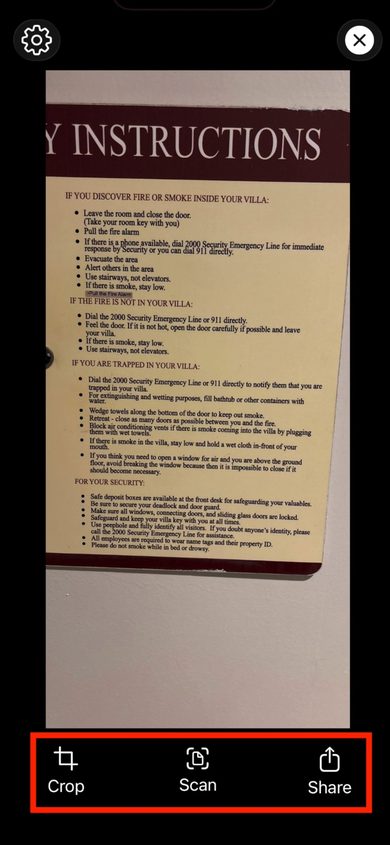
After capturing an image
Once you have taken a photo, three buttons appear at the bottom:
- Crop — open the crop editor to select the specific area of text you want to recognise
- Scan — start text recognition on the captured image
- Share — share the captured image via the iOS share sheet
Cropping an image
- Tap Crop after capturing an image.
- Drag the corners or edges of the crop rectangle to resize the area.
- Drag the centre of the crop area to move it around the image.
- Pinch to zoom the underlying image for more precise positioning.
- Tap Apply to confirm the crop, or Cancel to go back.
Tip: Cropping to just the text area before scanning improves accuracy — especially when a page contains images, borders, or other non-text elements alongside the text you want to read.