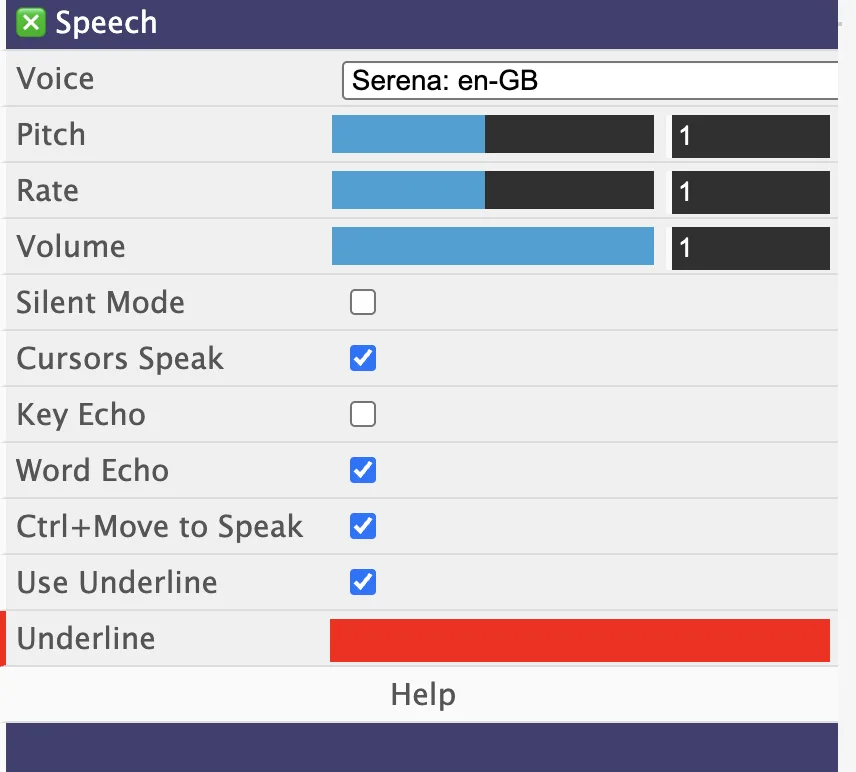
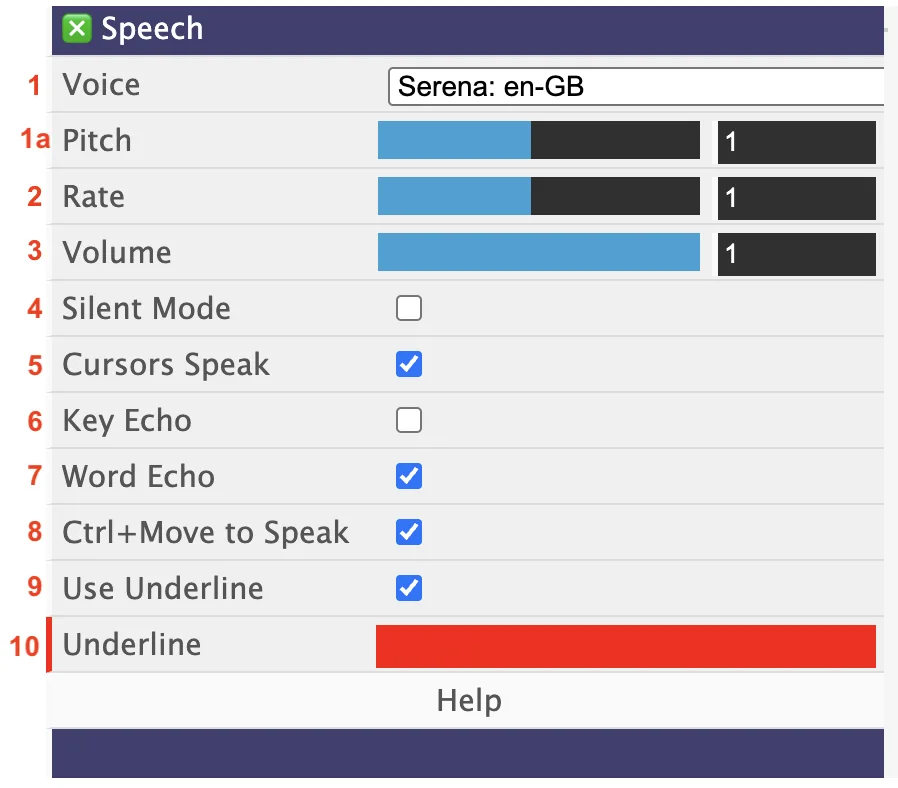
The speech settings panel gives you full control over how Readable Notes speaks your text. Click the cog icon at the right end of the toolbar to open it.
Settings explained
- Voice — Select your preferred text-to-speech voice from the pull-down list. Readable Notes uses the voices available on your Mac — including Apple's natural voices. Browse the list to find the voice that works best for you.
- Rate — Control the speed of speech using the slider. The default position (centre) uses the standard speaking speed. Move left to slow down, right to speed up.
- Volume — Adjust the text-to-speech volume independently of your Mac's system volume.
- Silent Mode — Disable all text-to-speech without changing any other settings. Useful when you need to work quietly.
- Cursor Speak — Use the keyboard arrow keys to navigate and hear your document:
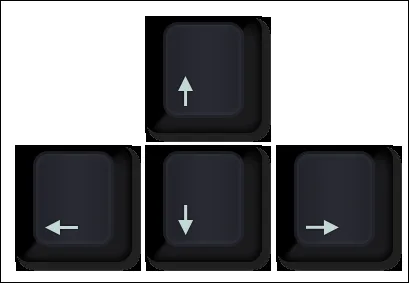
- Down or Up Arrow — speaks the whole line of text at the cursor.
- Right or Left Arrow — speaks the next or previous letter.
- ⌃ (Control) + Right or Left Arrow — speaks the next or previous word.
- Key Echo — When enabled, Readable Notes speaks each character as you type. Most useful for slower typists who want audio confirmation of every key press.
- Word Echo — When enabled, Readable Notes speaks each word after you press the Space bar, so you can hear your writing as you go.
- ⌃ Control + Move to Speak — When this is selected, you must press the Control key (⌃) while moving your mouse over text to trigger hover speech. When this is not selected, hover speech triggers automatically as the mouse moves over text.
You can stop hover or continuous speech at any time by pressing the Shift key.

When the Play button is used for continuous speech, a Stop button appears on the toolbar. Click it, or press Shift, to stop.

- Use Underline — When enabled, the current spoken word is underlined in your document during speech. This works with both the Play button and hover mode.
- Underline Colour — Choose the colour for the spoken word underline from the colour palette.