Upon launching the Sensory Markers app, a Marker will be added to your screen. Hover your mouse over the Marker, and right-click your mouse. This will open the Sensory Markers toolbar.

You can select any of the Markers from the toolbar. You can change a marker style by right clicking on the existing marker, and choosing the alternative style.
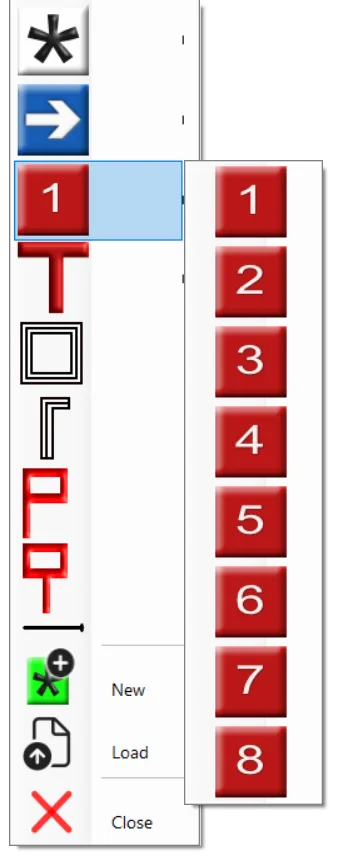
To create new (additional) marker, right-click a Marker to bring up the Toolbar, then select "New". This will produce a new additional Marker.
You can place Markers anywhere on your screens, by simply dragging them around with your mouse. The Markers sit on the screen, and not within the software you are using.
To remove an individual Marker, right-click the Marker and select "Close".
You can use any artwork to create a Marker, so prepare your symbols or images to be used. Ideally the artwork should have a transparent background. Then right-click a Marker and select "Load". Then choose the image file to be loaded from your Windows file folders.
To remove all Markers, right-click on the Program icon in the system tray and close the Sensory Markers program.
