A quick guide to the controls and settings in Sensory PDF Reader for Mac.
Opening and navigating a PDF

The top-left corner of the PDF Reader contains:
- Open file / Save As icons — open from your local drive or cloud storage
- Drag and drop — drag any PDF file onto the PDF Reader window to open it
- Page thumbnail view — toggle a panel showing thumbnail previews of all pages
- Page turner controls — navigate forwards and backwards through pages
Text size and zoom
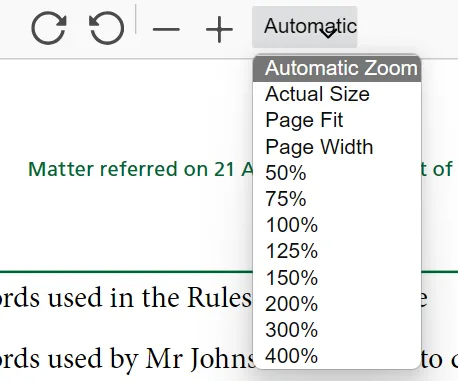
The top-centre icons control the document zoom level:
- Zoom from 50% to 400%
- Fit page height or fit page width options
- Rotate 90° — useful for landscape pages viewed in portrait orientation
Background colour
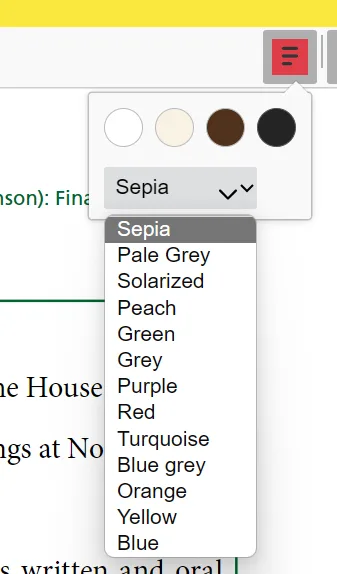
Change the background colour of the PDF to reduce visual stress. Choose from a selection of preset colours. The highlight colour for spoken text is also determined by the background colour setting.
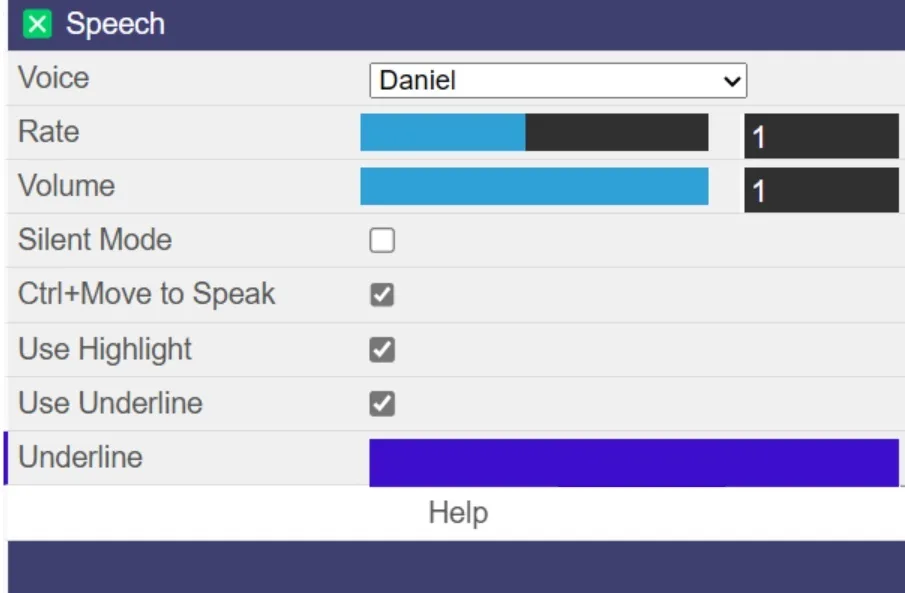
Speech settings

Sensory PDF Reader uses the text-to-speech voices installed on your Mac. Open the speech settings to choose your voice, pitch, speaking rate, and volume.
With the installed version, all voices are local to your Mac and work fully offline.
Speak word, line, or block

Three modes control how much text is spoken as you move the mouse:
- Word — speaks a single word under the mouse pointer
- Line — speaks the current line under the mouse pointer
- Block — speaks a section of text determined by the document layout
Speech can start automatically when the mouse stops over text, or you can set ⌘+Move to speak so speech only starts when you hold the Command key while moving the mouse — useful if you prefer to use select-to-speak most of the time.
Voice list
The available voices depend on which voices you have installed on your Mac. You can also enable Silent Mode in speech settings to prevent any speech.
Highlight and underline
When speaking text automatically, you can enable Use Highlight to highlight the word or line being spoken. You can also enable the Underline-Highlight method and choose the underline colour.
Select to speak
Any text you select with your mouse will be spoken automatically, unless Silent Mode is enabled. This works on any accessible PDF.
Inaccessible PDFs
If your PDF is not speaking, it may be inaccessible (a scanned or image-based document). Try selecting some text — if you cannot select any text, the PDF is inaccessible.
On Mac, use a third-party OCR tool or cloud service to convert the PDF to an accessible version. There are a range of options available for Mac and Chromebook.