PDF Convert — Help
PDF Convert lets you scan physical documents, import images or existing PDFs, and save the result as a fully searchable, accessible PDF — or as plain text, rich text, or a Word document. Optical Character Recognition (OCR) runs automatically when you save, so you never have to configure it manually.
Video help
A walkthrough of Sensory PDF Convert v2. The video only contacts Vimeo once you press play.
Interface overview
The application window is divided into three main areas:
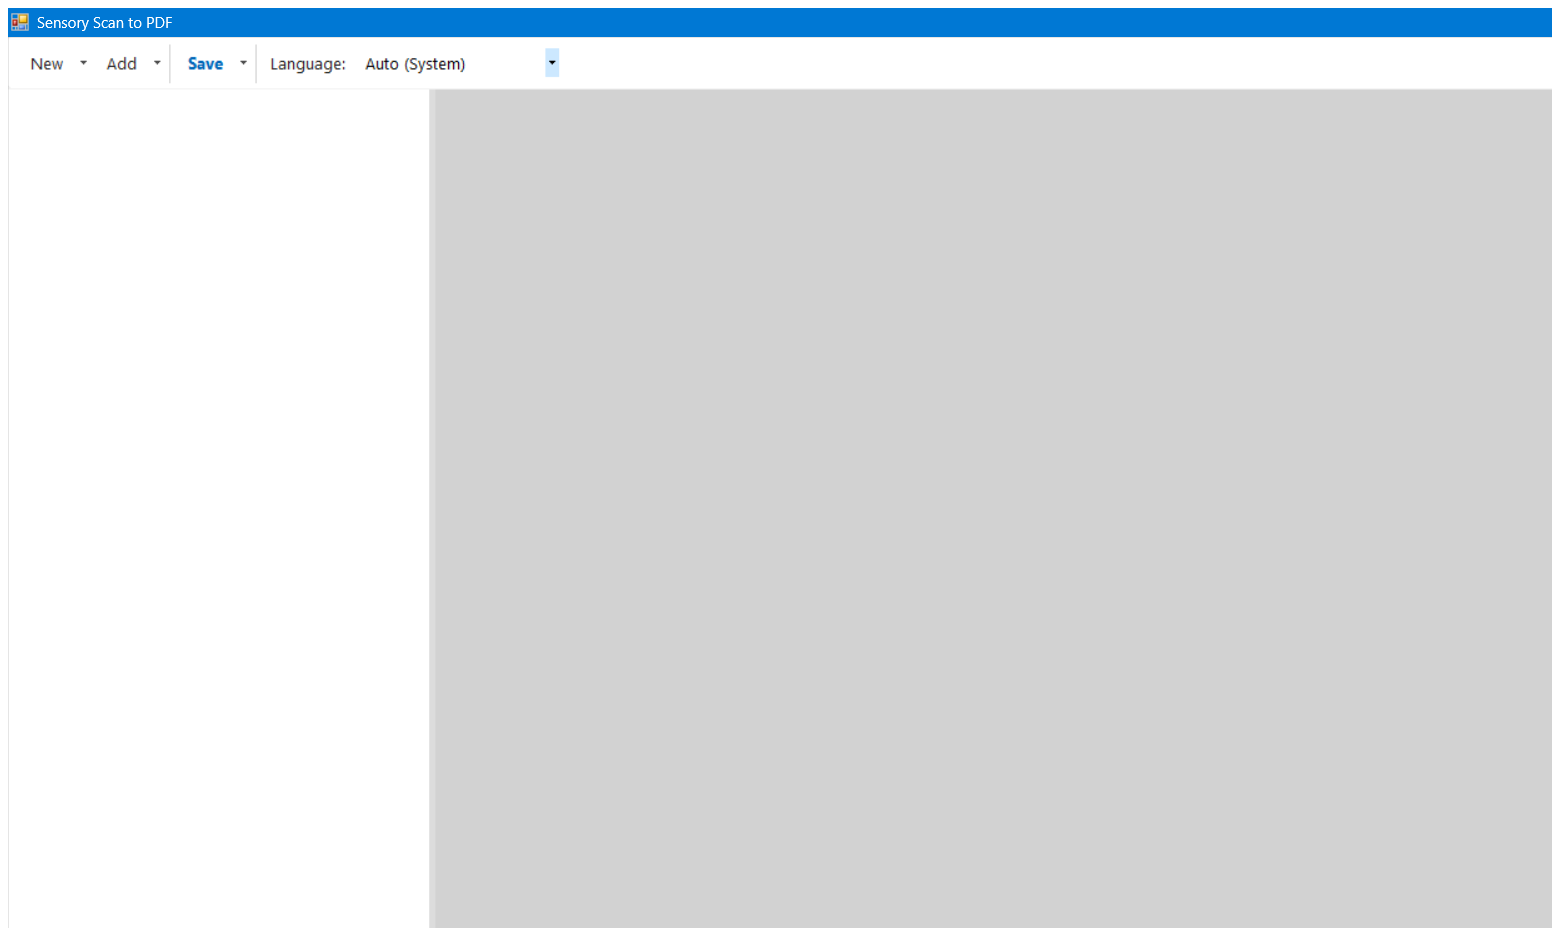
- Toolbar — The New, Add, and Save split buttons, plus the OCR language selector.
- Page list — Thumbnail tiles for every page in your current document. Click a thumbnail to preview it.
- Preview pane — A full-size view of the selected page.
- Status bar — Shows the current operation and progress while OCR is running.
Language selection
The Language drop-down in the toolbar controls the OCR language used when saving. The default, Auto (System), uses your Windows system language. If your document is in a different language — for example a French letter — select that language before saving to get the most accurate text output.
Note: The available languages are determined by the Windows language packs installed on your system. To add a language, go to Settings → Time & Language → Language & Region and install the desired language pack.
Adding Pages
Pages come from two sources: a WIA-compatible flatbed or document scanner, or existing image and PDF files on your computer. The New button replaces the current document; the Add button appends to it.
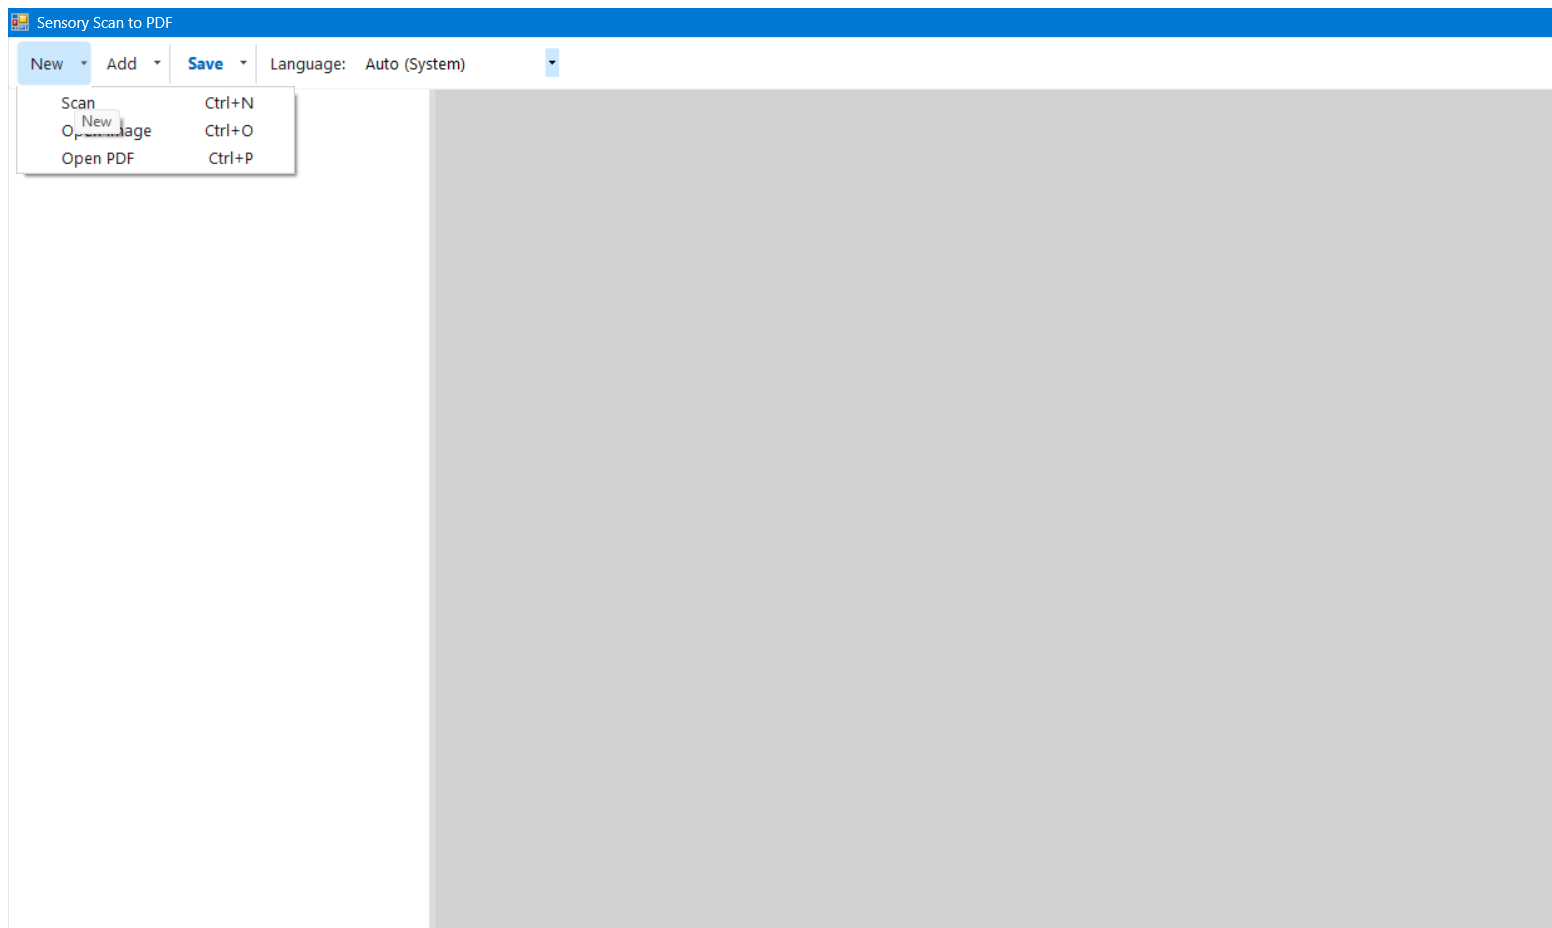
Starting a new document — the New menu
Click the small arrow (▾) next to New to choose a source. Any pages already in the page list are cleared before the new source is used.
| Menu item | What it does | Shortcut |
|---|---|---|
| Scan | Opens the Windows scanner dialog to scan one or more pages from a connected scanner. Any existing pages are replaced. | Ctrl+N |
| Open Image | Browse for a JPEG, PNG, BMP, or TIFF image file on your computer. Any existing pages are replaced. | Ctrl+O |
| Open PDF | Browse for an existing PDF. Each page of the PDF becomes a separate page in the page list. Any existing pages are replaced. | Ctrl+P |
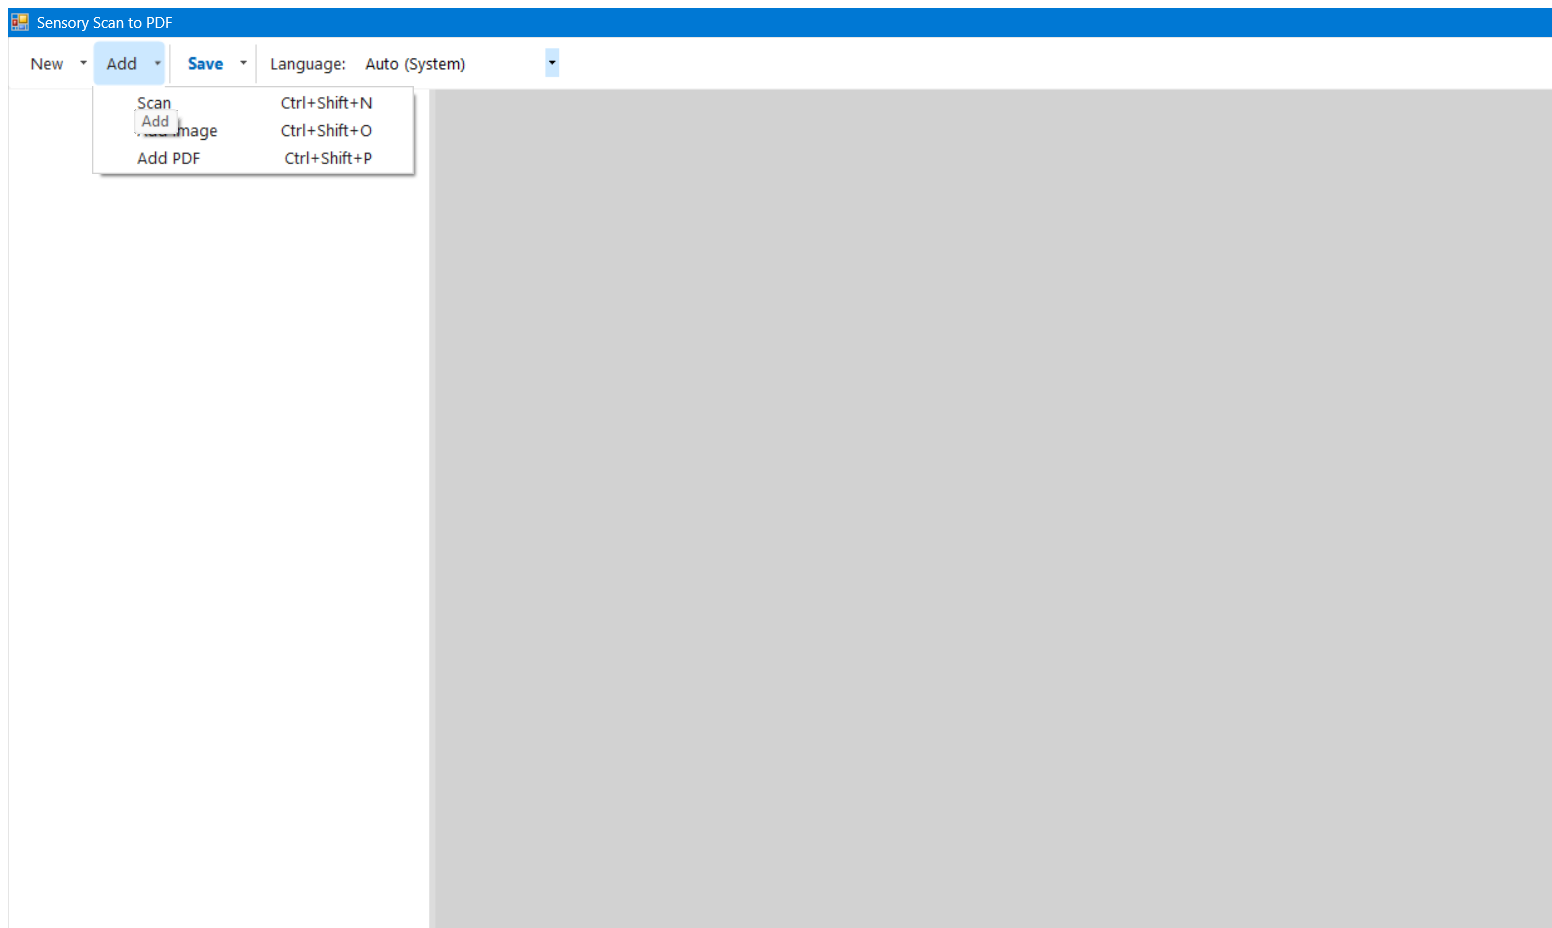
Adding more pages — the Add menu
Click the small arrow (▾) next to Add to append pages from any source to your existing document. The current page list is kept intact.
| Menu item | What it does | Shortcut |
|---|---|---|
| Scan | Scans from the connected scanner and appends the result to the current document. | Ctrl+Shift+N |
| Add Image | Browse for an image file and append it as a new page. | Ctrl+Shift+O |
| Add PDF | Browse for a PDF file and append all of its pages to the current document. | Ctrl+Shift+P |
Managing Pages
Once pages are in the list you can preview, reorder, and remove them before saving.
Previewing a page
Click any thumbnail in the page list to display it at full size in the preview pane on the right. Use this to check scan quality and orientation before saving.
Reordering pages
Select a page in the list and use the keyboard shortcuts below to move it up or down. You can also right-click a page and choose Move Up or Move Down from the context menu.
| Action | Shortcut |
|---|---|
| Move selected page up | Alt+↑ |
| Move selected page down | Alt+↓ |
Removing a page
Select the page you want to delete in the page list, then press Delete. You can also right-click the page and choose Remove from the context menu. Removed pages cannot be recovered — if you removed a page accidentally, you will need to add it again using the Add menu.
OCR Processing
OCR runs automatically as each page is added to the document — you do not have to wait until you save. By the time you click Save, all pages have already been recognised and the file is written from the stored results. Progress is shown in the status bar as each page is processed.
Automatic image processing
Each page goes through the following steps automatically:
- Auto-crop
- Detects and trims any black or white border that the scanner added around the page edge, so the recognised text area fills the output page correctly.
- Orientation detection
- Detects if a page was placed in the scanner upside-down or sideways and rotates it to the correct reading orientation before OCR runs.
- Deskew
- Straightens pages that were fed at a slight angle, which significantly improves OCR accuracy on slightly misaligned scans.
- Multi-pass OCR
- The Windows OCR engine is run in multiple passes to improve the confidence of the recognised text, particularly useful for low-resolution or lightly-printed documents.
The status bar at the bottom of the window shows progress as each page is processed. The word count detected on the page is also reported once OCR completes, so you can verify recognition quality before saving.
Blank page detection
The application automatically detects and skips blank pages — useful when scanning double-sided documents where some reverse sides are empty. A page is considered blank if it contains no significant text or image content after processing.
Note: If a lightly-printed page is incorrectly classified as blank, try scanning at a higher DPI or with increased contrast on the scanner.
Saving Your Document
Click the small arrow (▾) next to Save to choose an output format. OCR runs automatically before the file is written regardless of which format you choose.

Accessible PDF Ctrl+S
Produces a tagged PDF file that contains both the original scanned image and an invisible text layer beneath it. This is the recommended format for most purposes because:
- The document looks exactly as it was scanned.
- The text layer is searchable in PDF viewers (Ctrl+F in Adobe Acrobat, Edge, etc.).
- Screen readers such as JAWS, NVDA, and Microsoft Narrator can read the text aloud.
- The PDF meets the basic requirements for accessible document distribution.
Clicking the Save button label itself (not the arrow) always saves as Accessible PDF — the quickest route to the most useful format.
Plain Text
Saves only the recognised text as a .txt file — no
formatting, no images. Use this when you need the raw text content for
copying into another application.
Rich Text (RTF)
Saves the recognised text with basic formatting preserved (paragraphs,
line breaks) as a .rtf file. RTF files open in WordPad,
Microsoft Word, LibreOffice Writer, and most other word processors.
Word Document (DOCX)
Saves as a .docx file compatible with Microsoft Word 2007
and later. Ideal when you need to edit the recognised text or share it
with someone who needs to make changes to the document.
Keyboard Shortcuts
All actions in PDF Convert can be performed from the keyboard.
New document
| Action | Shortcut |
|---|---|
| New document from Scanner | Ctrl+N |
| New document from Image file | Ctrl+O |
| New document from PDF file | Ctrl+P |
Add pages to current document
| Action | Shortcut |
|---|---|
| Add pages from Scanner | Ctrl+Shift+N |
| Add pages from Image file | Ctrl+Shift+O |
| Add pages from PDF file | Ctrl+Shift+P |
Page management
| Action | Shortcut |
|---|---|
| Remove selected page | Delete |
| Move selected page up | Alt+↑ |
| Move selected page down | Alt+↓ |
Save
| Action | Shortcut |
|---|---|
| Save as Accessible PDF | Ctrl+S |
General
| Action | Shortcut |
|---|---|
| Open Help | F1 |
Frequently Asked Questions
- The text in my saved PDF is not selectable / cannot be read by a screen reader.
-
This usually means the OCR did not produce output for that page. Check that the correct OCR language is selected in the toolbar. If the page contains handwriting, OCR accuracy will be lower — the Windows OCR engine is optimised for printed text.
- My scanner does not appear in the scanner dialog.
-
PDF Convert uses the Windows Imaging Acquisition (WIA) framework. Ensure your scanner is connected, powered on, and that the manufacturer's WIA driver (not just a TWAIN driver) is installed. You can check this by opening Control Panel → Scanners and Cameras — your scanner should appear there.
- Blank pages are appearing in my saved document.
-
Blank page detection is automatic. If a page with very light content is being included when it should be skipped, try rescanning at a higher DPI or with greater contrast. Conversely, if a page with content is being skipped, it may contain very faint print — check it by clicking the thumbnail in the page list and previewing it before saving.
- OCR is slow or the application appears to freeze while saving.
-
OCR runs when each page is added, not at save time. Progress is shown in the status bar. If the bar shows activity, the application is still working. For faster processing, scan at 300 DPI rather than higher resolutions — the Windows OCR engine performs well at 300 DPI and higher resolutions add processing time without meaningfully improving accuracy for most documents.
- I accidentally removed a page. Can I undo?
-
There is no undo for page removal. You will need to re-add the page using Add ▾ and then reorder it into the correct position.
- What image file formats can I import?
-
PDF Convert accepts JPEG (
.jpg/.jpeg), PNG (.png), BMP (.bmp), and TIFF (.tif/.tiff) files. Each image becomes a single page. - Can I import a multi-page TIFF?
-
Yes. When you open or add a multi-page TIFF, each frame is imported as a separate page in the page list.
Troubleshooting
The application will not start
PDF Convert requires the .NET Framework 4.8 runtime. If the application fails to launch, check that .NET Framework 4.8 is installed. On Windows 10 version 1903 and later, and all versions of Windows 11, it is included by default. For older versions of Windows 10, install it from Windows Update or from the Microsoft Download Centre.
Poor OCR quality
If the recognised text contains many errors, try the following in order:
- Verify the correct OCR language is selected in the toolbar drop-down.
- Rescan at 300 DPI. The Windows OCR engine performs well at 300 DPI; higher resolutions add processing time without meaningfully improving accuracy for most documents. Lower resolutions (below 200 DPI) significantly reduce accuracy.
- Increase scanner contrast slightly to darken the text.
- Check that the page is flat against the scanner glass — any lift in the centre causes blur and degrades accuracy.
Scanned pages appear rotated
Orientation is detected and corrected automatically. If a page is still rotated in the output, the page may lack sufficient text for the orientation detector to be confident. Try placing the page in the scanner in the correct orientation.
File save fails or produces an empty file
Check that you have write permission to the destination folder. If saving to a network drive or a OneDrive folder, ensure the location is reachable and that you have sufficient storage space. Try saving to your local Documents folder first to isolate the issue.
Still stuck? Contact Sensory App House support via sensoryreadable.com/contact.